UICollectionReusableView를 활용하여 CollectionView의 Header를 만들어보도록 하겠습니다!
UICollectionReusableView?
애플의 개발자문서에 따르면 "A view that defines the behavior for all cells and supplementary views presented by a collection view"라고 합니다. 해석을 해보자면 Collection View가 보여줄 Cell들과 Supplementary view들의 행동을 정의해주는 view라고 할 수 있겠습니다!
실제로 UICollectionViewCell도 UICollectionReusableView를 상속받고있습니다. Supplementary view 역시 이 UICollectionReusableView를 통해 만들어지는 것이라고 할 수 있습니다.
Example (Emoji Collection)
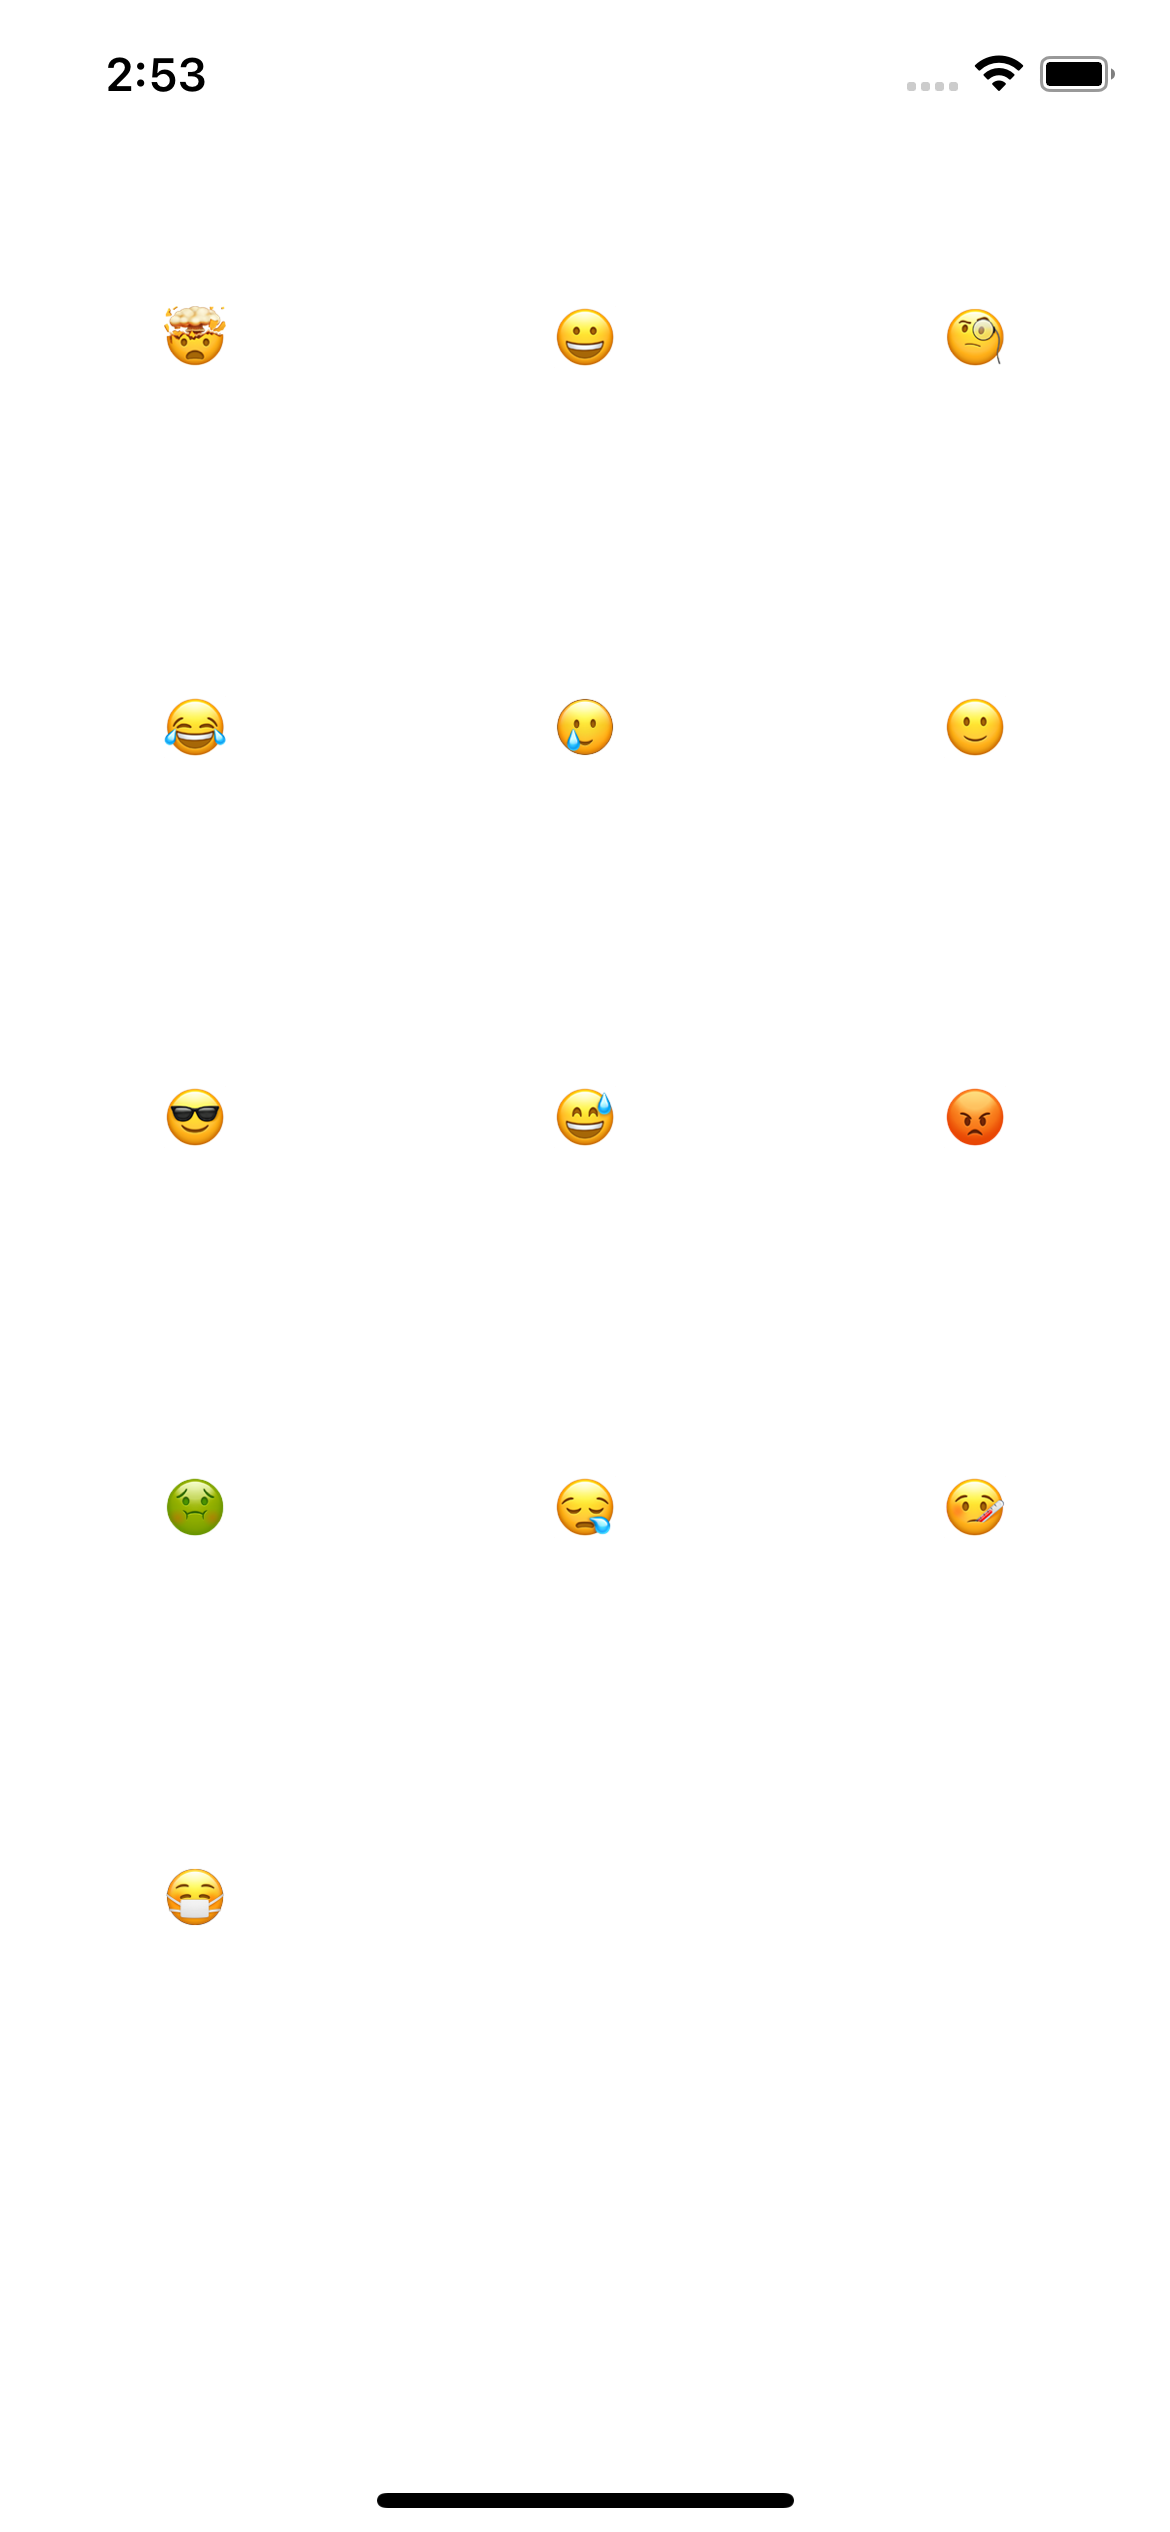
여기 Emoji 여러개들을 모아서 보여주는 Emoji Collection 이라는 간단한 예제 프로젝트가 있습니다.
이 CollectionView는 현재 Emoji들의 Collection이므로 Header에 직관적이게 무엇을 모아둔것인지 알려주고자 CollectionView에 Header를 추가하여 "지금 이 CollectionView는 Emoji들을 보여주고 있어요!" 라는 것을 알 수 있도록 하기 위한 코드를 작성해보겠습니다.
Create EmojiHeaderView
UICollectionReusableView를 상속받는 EmojiHeaderView를 생성해주겠습니다.
class EmojiHeaderView: UICollectionReusableView {
}
Header에는 어떤 Collection인지를 보여주기위한 titleLabel을 정의해주고, Identifier 또한 정의해주겠습니다.
private(set) var titleLabel: EmojiTitleLabel!
static let reuseIdentifier = String(describing: EmojiHeaderView.self)
그리고 이니셜라이저에서 TitleLabel을 정의해주고, 배경색도 넣어보겠습니다 ㅎㅎ
override init(frame: CGRect) {
	super.init(frame: frame)
	backgroundColor = .systemTeal
	configureTitleLabel()
}
이후에 titleLabel의 텍스트를 정의해 줄 메서드 까지 작성하면 완성입니다.
func configureTitle(with title: String) {
	titleLabel.text = title
}
Register EmojiHeaderView
EmojiCollectionViewController의 viewDidLoad()에서 collectionView의 메서드인 register(_:forSupplementaryViewOfKind:withReuseIdentifier:)를 활용하여 Register를 해주겠습니다.
collectionView.register(EmojiHeaderView.self,
			forSupplementaryViewOfKind: UICollectionView.elementKindSectionHeader,
			withReuseIdentifier: EmojiHeaderView.reuseIdentifier)
Sizing EmojiHeaderView
EmojiHeaderView의 사이즈를 정해줄 차례입니다! UICollectionViewDelegateFlowLayout의
collectionView(_:layout:referenceSizeForHeaderInSection:) 를 활용하여 사이즈를 정해주도록 하겠습니다!
    func collectionView(_ collectionView: UICollectionView,
                        layout collectionViewLayout: UICollectionViewLayout,
                        referenceSizeForHeaderInSection section: Int) -> CGSize {
        let width = collectionView.frame.width
        let height: CGFloat = 200

        return CGSize(width: width, height: height)
    }
width는 collectionView의 width와 같게, 그리고 height는 넉넉하게 200정도 주도록 하겠습니다.
Configure EmojiHeaderView
마지막으로! CollectionView에 들어갈 EmojiHeaderView를 생성해보도록 하겠습니다. 바로 UICollectionViewDataSource의
collectionView(_:viewForSupplementaryElementOfKind:at:) 를 활용해서 진행해보도록 하겠습니다.
override func collectionView(_ collectionView: UICollectionView,
                                 viewForSupplementaryElementOfKind kind: String,
                                 at indexPath: IndexPath) -> UICollectionReusableView {
	switch kind {
	case UICollectionView.elementKindSectionHeader:
   		let headerView = collectionView.dequeueReusableSupplementaryView(ofKind: kind,
                                                            withReuseIdentifier: EmojiHeaderView.reuseIdentifier,
                                                            for: indexPath)
		guard let typeHeader = headerView as? EmojiHeaderView else {
			return headerView
		}

		typeHeader.configureTitle(with: "Emoji\nCollection")

		return typeHeader
	default:
		assert(false)
	}
}
우선 kind의 값이 elementKindSectionHeader이면,
1. dequeueReusableSupplementaryView(ofKind:withReuseIdentifier:for:) 메서드를 활용하여 headerView를 정의합니다.
2. guard문을 사용하여 EmojiHeaderView로 타입캐스팅 해줍니다.
3. 다음으로 이전에 EmojiHeaderView에서 titleLabel의 text를 지정해주기 위해 만들었던 configureTitle메서드를 호출하여 title을 정해주고 이를 리턴해줍니다.
그리고 Build and Run을 해주면!

멋진 systemTeal 배경색을 가진 HeaderView가 만들어졌습니다!
'iOS' 카테고리의 다른 글
| [AutoLayout] LayoutGuide 활용하기 (0) | 2022.12.29 |
|---|---|
| iOS ) Firestore 와 UITableView를 활용한 Paging 기능 (0) | 2022.03.07 |
| Asynchronous Operations Unit Test (URLSession Unit Test) (0) | 2021.01.27 |
| iOS Application Life Cycle (0) | 2021.01.18 |
| App Delegate / Scene Delegate Method (0) | 2021.01.15 |